Moving out of a rented property can be both exciting and stressful, but one crucial task that often demands meticulous attention is the end of tenancy cleaning. Ensuring your rental space is spotless not only guarantees the return of your security deposit but also leaves a positive impression on your landlord. In this comprehensive guide, we’ll walk you through a step-by-step checklist for the ultimate tenancy cleaning.
Gather Your Cleaning Supplies
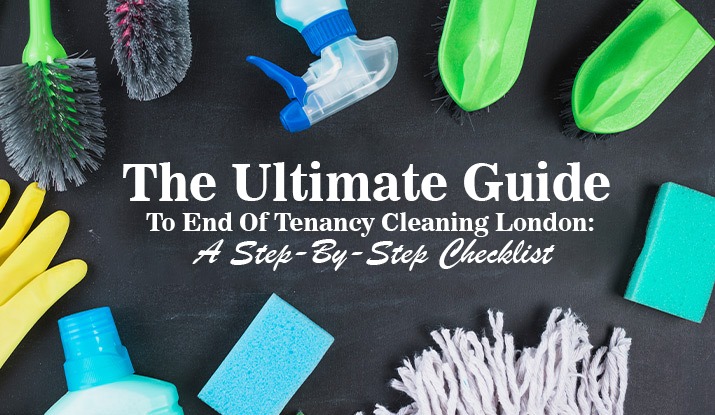
As you initiate the end of tenancy cleaning, gather all essential supplies, including top-quality cleaning solutions, microfiber cloths, sponges, a reliable vacuum cleaner, a sturdy mop, a durable bucket, and any specialised tools designed for unique surfaces.
Declutter Each Room
Begin the cleaning process by decluttering each room systematically. Remove personal belongings, dispose of trash, and eliminate unwanted items. This not only makes the cleaning process more manageable but also provides a clearer view of the areas that require special attention during the end of tenancy cleaning.
Dusting and Cobweb Removal
Dusting and Cobweb Removal is a crucial step in the meticulous process of end of tenancy cleaning. Equip yourself with a duster or a microfiber cloth to systematically address all surfaces. Paying close attention to commonly neglected areas, including light fixtures, vents, and ceiling corners, is imperative to achieve a comprehensive clean. As part of the end of tenancy cleaning regimen, it is essential not to overlook the removal of any cobwebs that may have accumulated over time.
Wipe Down Surfaces
Use appropriate cleaning solutions to wipe down all surfaces, including countertops, shelves, and tables. For kitchen and bathroom surfaces, consider using specialised cleaners to tackle grease and grime. Pay extra attention to areas frequently touched, like door handles and switches.
Clean Appliances
Give your appliances a thorough cleaning. This includes the refrigerator, oven, microwave, and any other appliances provided by the landlord. Defrost the freezer, remove any lingering food odours, and scrub away grease and stains.
Deep Clean Floors
Different flooring materials require different cleaning methods. Vacuum carpets, sweep and mop hard floors, and clean tile grout if necessary. Pay attention to high-traffic areas and spots that may have accumulated stains.
Wash Windows and Mirrors
Don’t overlook windows and mirrors during your end of tenancy cleaning. Use a streak-free glass cleaner to ensure crystal-clear results. Clean windows from both the inside and outside if possible.
Tackle the Bathroom
Scrub the bathroom thoroughly, paying attention to the toilet, shower, bathtub, and sink. Remove any limescale, mould, or soap scum. Ensure that all surfaces are sanitised and free from any signs of wear and tear.
Address Wall Stains and Marks
Inspect the walls for any stains or marks. Spot clean as needed, and consider repainting if necessary. Make sure to match the paint colour to the original shade to avoid any disputes with the landlord.
Final Inspection | End of Tenancy Cleaning
1. Completion of Cleaning Checklist
- Prioritise the systematic completion of the entire end of tenancy cleaning checklist.
- Ensure each task, from general cleaning to specific requirements, is diligently addressed.
2. Initiate Final Inspection
- Conduct a final inspection as the conclusive step in the cleaning process.
- Initiate the walkthrough by entering each room to assess the overall cleanliness and condition.
3. Thorough Room-by-Room Assessment
- Systematically inspect each room to identify any overlooked details or areas that may have been missed during the cleaning process.
- Pay attention to specific cleaning requirements outlined in the checklist for each room.
4. Identification of Missed Spots
- Scrutinise surfaces, corners, and fixtures to identify any missed spots or discrepancies in cleanliness.
- Address and rectify any overlooked areas promptly.
5. Necessary Touch-ups
- Make necessary touch-ups as required based on the findings during the final inspection.
- Attend any minor cleaning or maintenance tasks needed to meet the standards of an impeccable end of tenancy cleaning.
6. Quality Assurance
- The final inspection serves as a quality assurance measure, ensuring that the property meets the specified cleanliness standards.
- Confirm that the property is ready for turnover to the next tenant without any unresolved cleaning issues.
7. Property Readiness
- Guarantee that the property is presented in pristine condition, ready for the next tenant to move in seamlessly.
- Uphold the expected standards for cleanliness and maintenance in end of tenancy scenarios.
8. Fulfilment of Transition Requirements
- The meticulous final inspection ensures that all transition requirements for the end of tenancy are met.
- Provides confidence that the property is prepared for the next phase, upholding a high standard of cleanliness and care.
Conclusion
This step-by-step end of tenancy cleaning London checklist to leave your rental property in impeccable condition. A thorough cleaning not only satisfies your landlord but also ensures a smooth transition into your new home. By investing time and effort into this process, you increase the likelihood of receiving your full security deposit and leave a positive lasting impression.
